 |
So you have a few friends, a willing store, and a day marked on the calendar for your game of choice. That's great! What are some things that YOU can do to make sure that this fledgling community never gets off the ground? How can you make success impossible? I have some wonderful tips that I can provide you that I've learned through my time traveling and experiencing gaming communities of various sorts. These are sure-fire methods to repelling even the most enthusiastic and willing gamer.
Tip #1: Store Setup
I have played in small comic book shops, small Games Workshop stores, large purpose-built war gaming stores, and even large Games Workshop Battle Bunkers (picture at the top of the article is one such bunker). If you want to make sure that no new-comer will return, these are some must-haves in your location of choice (should that location be a store):
 |
| "Uh yeah we can move some of this an maybe squeeze a table in. We're dedicated to our gaming community." |
- As few gaming tables as possible - One table is always enough. You definitely want to make sure that only two people can get a game in, and that those two people will be spectated by loud-talking gamers that will be sure to slow the game down by second-guessing every rule or decision made by the lucky two gamers that got the one table.
 |
| So much evocative terrain here on Planet Plywoodia! |
- No terrain is best terrain - People love playing on a table filled with evocative terrain. That's why you ditch it completely. Line-of-sight blocking terrain should be the first to go. If you absolutely must have terrain make sure it is flat uninspired area terrain made from foam. A nice touch is if this foam terrain has been dragged around the parking lot to ensure that the blue/pink foam is visible from chips and chunks removed from the thin dry-brushed paint job. Another plus this clearly very open terrain will provide is explained later.
 |
| "Meh... Gaming between the hours of 5pm and 6pm. Gotta avoid the Yu-Gi-Oh crowd." |
- Less is more when it comes to time to play - At 1500 points, with two veteran players, you can get through a game of 6th edition Warhammer 40K in about an hour and a half. That means that three hours should be plenty of time for a newbie to mingle, talk, and then get tabled by a Win-At-All-Cost tourney list. More on that later.
Tip #2: First impressions Last. Bring your "A" Game
By "A" I of course mean "Asshole." Allow me to provide and example to explain. Let us assume that you are a key member of this community that you're hoping to ram into the ground. Upon arriving late to the three hour gaming window at the horrible location you find a new and willing victim gamer. He or she says something like "I played back in the day, but I was hoping to get back in. I thought I'd check out the local scene and get a game in." Perfection! Or "I'm new to 40K. I just assembled and painted this army and I wanted to learn how to play." Even better! This victim gamer probably is far out of touch with the most recent tournament meta, and likely has forgotten some rules or never even knew them to begin with. This is an excellent opportunity to make sure that no fun is had. If you have brought multiple armies, choose the most over powered of those that focuses specifically on the biggest weakness of their army then get ready to club a baby seal. Here are some finer tips on what to focus on when working on your "A" game:

- WAAC isn't whack - Win At All Costs (WAAC) is the way to be. Remember when people talk about "themed army lists" that "Winning" is a theme! Be sure to bring the most relentless death-star heavy list you can. If you noticed that this
victimgamer doesn't have much in the way of anti-armor, be sure to bring plenty of armor 14. What's that? They're playing an army the relies on cover saves? Play Tau of course! And remember Tip #1's "No terrain is best terrain" advice? Time to make sure the table completely favors your army is hinders or exposes the visitor's army.

- It isn't cheating if you don't get caught - If this is a completely new player or possibly someone not familiar with the current edition, they likely don't know or remember the rules. You can just neglect things that aren't favorable to you. But what do you do if they think they remember a rule and it still isn't favorable to you? That's easy. There have been 6 versions of 40K, and somewhere in all those version is a way out. Just remember the version of the rules that most favors you, and argue strongly that this is the way it should be. If the visitor insists on looking it up, use your venerable veteran status as an excuse. "Oh man... so silly, I was just remembering 4th edition. That happens when you've been playing as long as I have." All is forgiven. The chances are that this newbie will realize
Tip #3: Be the stereotypes
Gamer stereotypes come in many forms. They only exist as stereotypes because they actually exist in real life. There will be some that are completely familiar to you already, but don't limit yourself to just these well travel paths. When attempting to repulse, confuse, or generally make people feel uncomfortable, you can't go wrong with choosing any of the following:
 |
| That fog is "the smell" |
- Smelly Gamer - One of the most obvious ones is up first. It doesn't matter if it is a lack of bathing/showering or filthy clothes that have been worn a heck of a lot more times than they've been washed, smell is the goal. But don't just limit yourself to bad smells, try over-powering smells too! Perhaps you do bath regularly AND you've washed your clothes. It's not too late to drown yourself in some sort of Axe product that now makes you smell like all of the worlds' car fresheners vomited on you. People certainly won't be back to bother you with enjoyable pick-up games ever again!
| "OMG THE TAUDAR ARE SOOOO OP! LEMME TELL YOU ALL ABOUT IT!" |
- Obnoxious Gamer - We all know this character. Vocal volume was set to eleven and the knob was glued down. He/she is desperate for some attention so they leap at every chance to interject. Obvious jokes are the BEST jokes, so make sure you point them out, frequently interrupting someone else's conversation to do so. What is so great about Obnoxious Gamer is that you can actually be a really friendly guy, polite even, but you smother all others in your booming exultation such that you can make sure that no one will have a quiet and enjoyable conversation. The great part is that no one will be likely to call you out if you're being polite simply because they'll be labeled the asshole!
 |
| "I'll be playing Tau. Pip pip and tally ho!" |
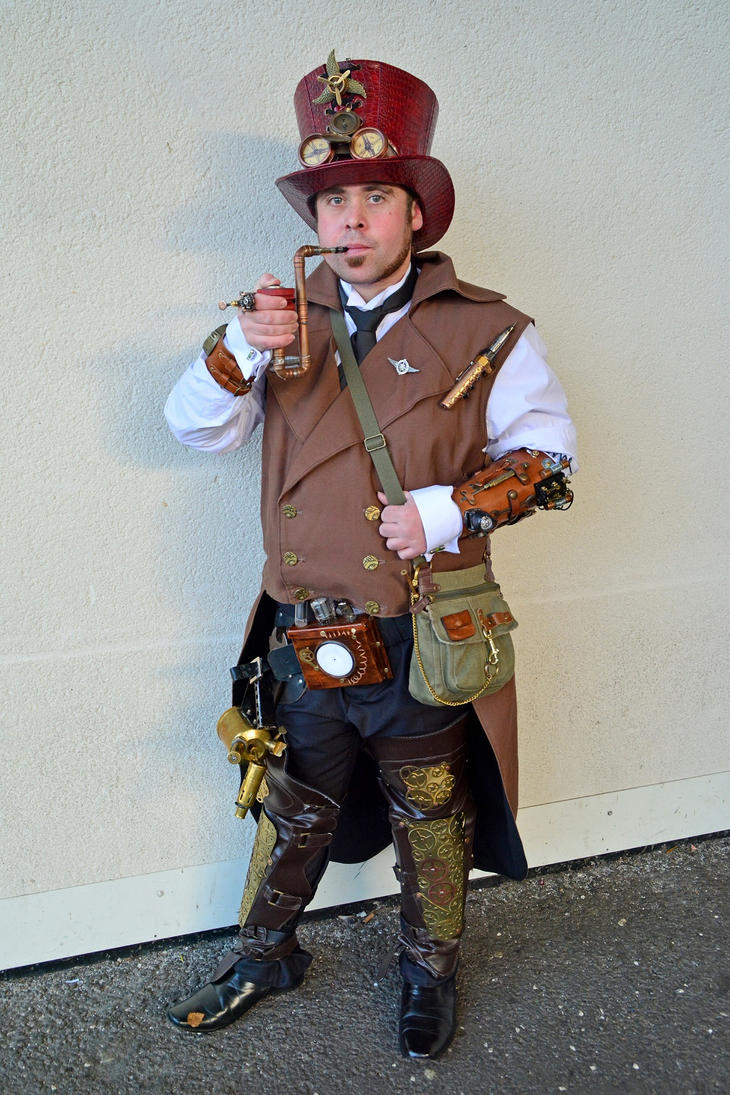
- "Look How Unique I Am" Gamer - This one just ramps up the uncomfortable factor. Essentially you need to dress or accessorize in a very attention grabbing manner. You have to play this well because these days people have a pretty high tolerance for insane wardrobe choices (thanks Lady Gaga! Jeeeez!). Gone are the days that you could just wear a kilt and weird everyone out. You'll have to go further. Dedication is key here, thus I recommend dressing all out in one of the following flavors: Renn Faire (the 'e' on the end adds authenticity. Extra points for wearing leather bracers all the time, and extra extra points for affecting an accent), Steam Punk (Top hats or bowlers are a must. Extra points for goggles, even extra extra points if you insist of carrying a Nerf gun re-painted with a can of bronze spray paint), Alt-Alternate-Counter Culture (you were a hipster before hipsters weren't cool, must go further. Scarfs in summer are still a must)
 |
| Neck-beard implied |
- Fedora wearing Neck-beard Gamer - Hat and neck-beard are great but to seal the deal, all black is best. So the hat is just and accessory to a bigger character role. Neck-beards can spoil more fun than anything of the previous types. Essentially, whatever someone likes, you hate. Poo-poo all ideas of fun, argue about fluff, hate on all things at all times. Snark about fluffy lists, complain about WAAC lists, blame GW for all problems in your gaming life. You are the devil's advocate without the principles. Hat and neck-beard optional, but shitty attitude is a must.
 |
| Imagine the thick smell of 10 year old cigarettes |
- Dirty Gamer - Smelly Gamer and Dirty Gamer are different, though sometimes manifested in one being. Dirty Gamer arrives with a shoe box filled with the misfits of 40K. No two models are primed or assembled the same way, and everything seems to be coated in a layer of dust or dirt. Dirty Gamer tends to be a smoker, so his models might have quite a lot of tar on them. If they aren't a smoker, they might live in a house filled with 20 smokers. Why 20? I can only assume it takes a large group of people, smoking in shifts around the clock in order to generate the fumigating cloud of disgustingness that covers these game pieces. Dirty Gamer never has to worry about other people touching his stuff because the fear of tetanus is very real.
 |
| "Sup? I come here often." |
- Creeper Gamer - This is a bonus for all those people that maybe weren't off-put by all the previous stereotypes. Creeper can be anyone of those listing, but in addition to their normal powers of dissuading a visitor from joining a community, this type games special abilities when confronting gamers of the opposite sex. Creeper Gamer will make disturbingly obvious flirtatious jokes towards the opposite sex. They do this is large quantities, and constantly. Opposite sex + their hobby = uncontrollable horn-balls. What is so remarkable about the Creeper is that they're so socially awkward and uncomfortable to be around, they make all genders freaked out. No one wants to see the Creeper plying his/her trade (that's right, female creepers exist).

You're on your way to success failure!
If you've deployed these tips, I'm sure you'll have people clamoring for the door in no time. Obviously this editorial is heavily sarcastic, but I'm trying to express some of the pains I've experienced each time I've relocated and then searched for a solid 40K community. I'll be sure to share some specific stories in the future. All I know is that each time I've started the search anew, I run into the least pleasant elements of our community. I've decided that more and more the people I'm searching for to get some games in with are all hiding at home. They've got their circle of friends, all of them "normies" and they're pleased as punch to play in their own houses with nice tables, fun rules, narrative campaigns, and few distractions.
Share your pain
If you've had a run-in with these communities that seem to chase away new comers, please share your story with me. Leave a comment, or email us. If you are an existing critical member of a community (you know who you are) tell us what you might do to counter-act those negative influences that might creep into your group. Until next time: keep the dice rolling!


